一直以來 Ghost 的官方主題都是免費開源且發佈在 GitHub 上,我們可以 Fork 到我的 Repositories 倉庫中也能作出修改,又或是不修改確保網站使用的主題是最新的。
目前所知 Ghost 有不少安裝主題的方法
- 上傳主題
zip,絕大多數的 Ghost 主題都能用。 - 在
Setting > Design & Branding中直接安裝主題,只有免費的官方主題可以用。 - 在 https://ghost.org/themes 的免費主題,選擇安裝輸入網站url即可。
- GitHub Actions 更新
GitHub Actions 🆕 #
用 GitHub Actions 更新讓後透過 ghost admin api 部署到做到主題自動部署。
github actions 到 ghost admin api 流程
💡
GitHub Actions 是一种持续集成和持续交付 (CI/CD) 平台,可用于自动执行生成、测试和部署管道。
GitHub Actions 相關 #
首先登入 GitHub,然後找到自己心儀的 Ghost 主題,例如 Alto。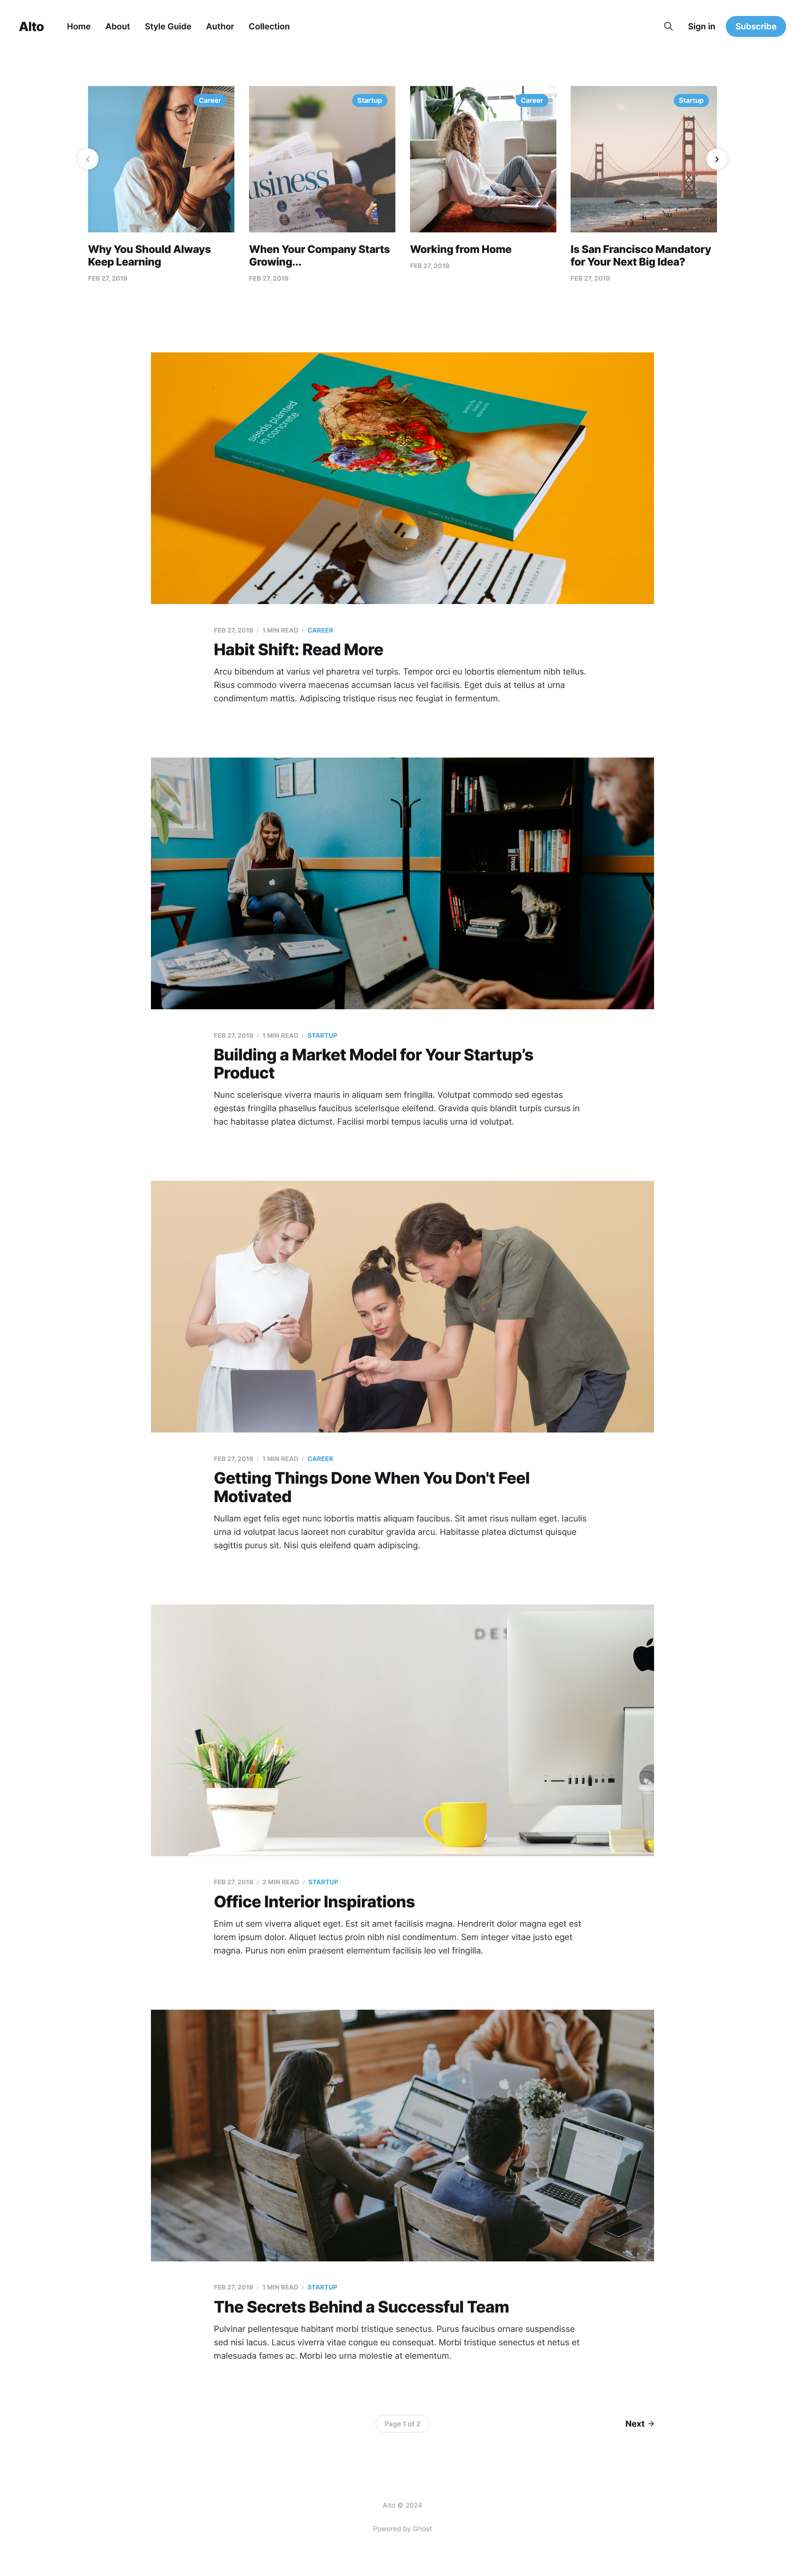
Instructions 步驟 🚶♂️ #
💡
為了維持步驟的簡潔,我並沒把圖片給顯示出來,但是可以點擊 [image] 打開改步驟的圖片。
- 首先到
Settings > Integrations > Create Custom Integration,獲取 Admin API Key & Admin URL。[image] - 到 https://github.com/TryGhost/Alto
分叉 Fork到 Repository 中。 - 添加 Repository Secret -[image][image]
Settings > Security > Secrets & variables > Actions > New repository secrets創建GHOST_ADMIN_API_KEY在 Secrets 中添加之前在 Ghost Integration 獲取的 Admin API Key創建GHOST_ADMIN_API_URL在 Secret 中添加之前在 Ghost Integration 獲取的 Admin URL。 - 回到 Repository 中新增
deploy theme.yml建立新文件.github/workflows/deploy-theme.yml加入Deploy Theme.yml 設置,commit 即可, 過不了多久完成部署後,可以看到有一 ✅。[image] - 完成後便可以在已安裝主題中找到 Alto 主題。 name: Deploy Theme on: push: branches: - master - main jobs: deploy: runs-on: ubuntu-latest steps: - uses: actions/checkout@v4 - name: Deploy Ghost Theme uses: TryGhost/action-deploy-theme@v1 with: api-url: ${{ secrets.GHOST_ADMIN_API_URL }} api-key: ${{ secrets.GHOST_ADMIN_API_KEY }}
Deploy Theme.yml 設置
💡
如果不確定可以到https://github.com/mingshunme/Alto找到的關於這篇文章的例子。
總結 🔚 #
用了 GitHub actions 讓部署主題變得很簡單,除了一開始比較多前期準備工作之外,其他的幾乎是不用操心,如果要加入功能的話(例如 Table of Contents),透過 GitHub 部署新功能。